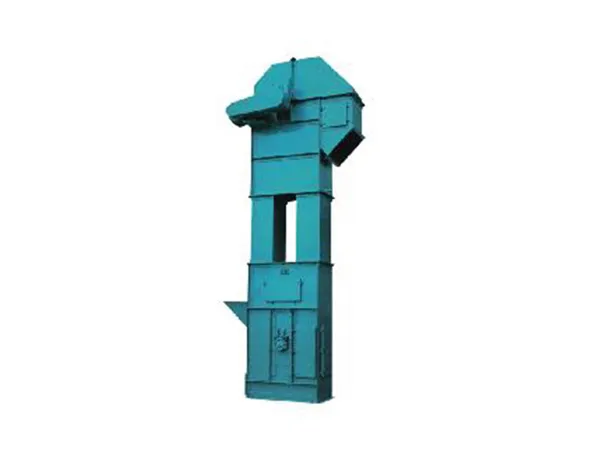
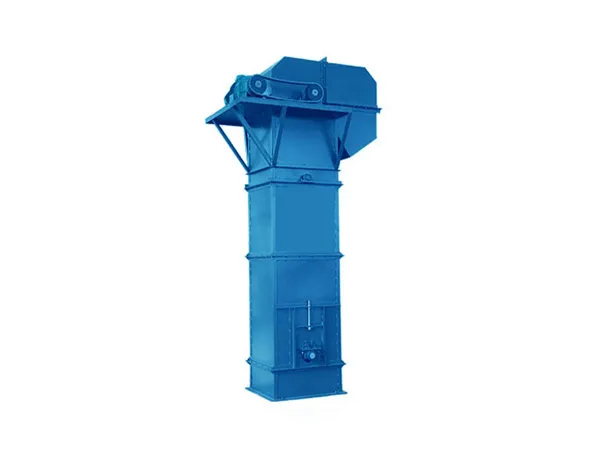
Installing a bucket elevator belt is a detailed process that involves preparation, precise alignment, and securing components to ensure proper functioning. Here’s a step-by-step guide to help you install a bucket elevator belt.

Bucket elevator belt
Buckets
Bolts, nuts, and washers
Wrenches and other hand tools
Measuring tape
Chalk or marker
Safety gear (gloves, safety glasses, etc.)
Lifting equipment (hoist or crane)
Belt tensioning tools

1. Safety Precautions
Shut Down the System: Ensure the bucket elevator system is completely shut down and locked out.
Wear Safety Gear: Use appropriate personal protective equipment (PPE), such as gloves, safety glasses, and helmets.
2. Prepare the Elevator
Clean the Elevator: Ensure the elevator casing and surrounding area are clean and free of debris.
Inspect Components: Check all components of the elevator (e.g., pulleys, shafts, and bearings) for wear and tear. Replace any damaged parts.
3. Remove the Old Belt (if applicable)
Release Tension: Loosen and remove the tension on the old belt using the tensioning system.
Detach Buckets: Remove the buckets from the old belt.
Remove Belt: Carefully pull the old belt out of the elevator casing.
4. Install the New Belt
Position the Belt: Lay out the new belt on a flat surface near the elevator. Ensure it is oriented correctly, with the proper side facing up.
...
More detailed information about bucket elevator belt installation can be found at: https://www.zymining.com/en/a/news/bucket-elevator-belt-installation.html