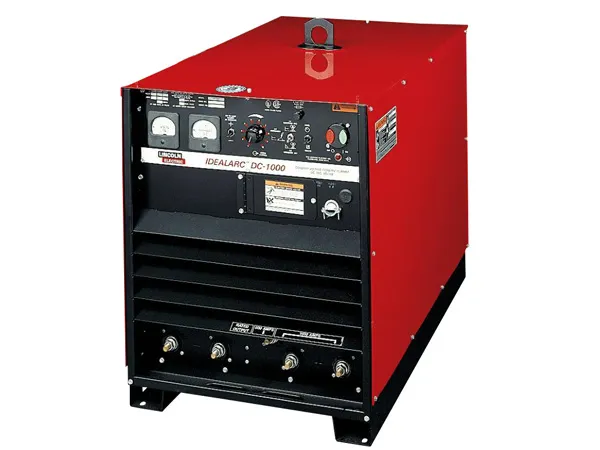
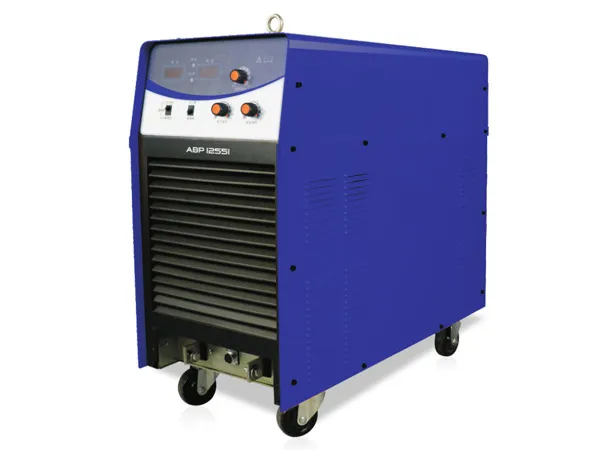
Operating a submerged arc welding (SAW) machine involves several steps, including setup, adjusting parameters, and ensuring safety. Here is a detailed guide on how to operate a submerged arc welder.

1. Safety Precautions
Wear Personal Protective Equipment (PPE): Use appropriate PPE including welding helmet, gloves, protective clothing, and safety glasses.
Ventilation: Ensure good ventilation in the welding area to avoid exposure to harmful fumes.
Fire Safety: Keep flammable materials away from the welding area and have fire extinguishers on hand.
2. Setup
Position the Workpiece: Secure the workpiece in place on the welding table or fixture. Ensure it is clean and free of contaminants like rust, oil, and paint.
Load the Electrode Wire: Install the appropriate electrode wire spool in the wire feed mechanism. Ensure the wire is properly threaded through the feed rollers and into the contact tip.
Fill the Flux Hopper: Fill the flux hopper with the appropriate granular flux. Check that the flux delivery system is functioning properly.
3. Machine Settings
Set the Power Source: Adjust the welding current and voltage settings on the power source based on the material thickness and type. This information can often be found in welding procedure specifications (WPS).
Adjust the Wire Feed Speed: Set the wire feed speed according to the desired deposition rate and weld bead characteristics.
Configure the Travel Speed: Adjust the travel speed of the welding head or carriage to ensure proper weld penetration and bead appearance.
4. Welding Process
Position the Welding Head: Place the welding head at the start of the weld joint, ensuring the correct distance between the contact tip and the workpiece.
Start the Welding Process:
Manual Mode: For manual operation, initiate the arc by pressing the start button. Adjust the welding parameters as needed during the welding process.
Automatic Mode: For automated welding, program the welding path and parameters into the control system. Start the machine and monitor the welding process.
Monitor the Weld: Observe the welding arc and molten pool through the flux. Make adjustments to the welding parameters if necessary to ensure consistent weld quality.
Stop the Welding: Once the weld is complete, stop the welding process by pressing the stop button or letting the automatic program finish its cycle.

5. Post-Weld Operations
Remove Slag: After the weld has cooled, remove the slag covering the weld bead using a chipping hammer or wire brush.
Inspect the Weld: Visually inspect the weld for defects such as cracks, porosity, or undercut. Non-destructive testing methods such as ultrasonic or radiographic inspection may be used for critical welds.
...
For more detailed information about submerged arc welder operation, please click here: https://www.bota-weld.com/en/a/news/submerged-arc-welder-operation.html